
In this guide, we’ll discuss how you can get started with theme development. We’ll then take you step-by-step through the process of creating a brand new custom theme.
If you want something done right, you might have to do it yourself. While there are plenty of WordPress themes available, finding one that has the exact look and functionality you need can be difficult. In fact, you might be tempted to create your own theme instead. Getting started with theme development can seem overwhelming, though — especially for a beginner.
Fortunately, creating a custom theme for WordPress is a relatively straightforward process. It also doesn’t require much technical knowledge or experience with web development. Plus, building your own theme can be well worth the effort since you can get your site looking and operating just right.
An Introduction to WordPress Theme Development
You want your site to look great and have all the functionality you need, so you check out the WordPress Theme Directory. Unfortunately, nothing you see fulfills all your requirements, and you don’t want to compromise on your vision. Maybe you want something unique that will make your site stand out, or you just don’t want to spend the money on a premium theme.
At this point, you might start to consider creating your own theme. Fortunately, developing a theme for WordPress is not the overly complicated affair you might imagine it is. Thanks to the platform’s inherent user-friendliness and the numerous tools available, almost anyone can create a custom theme.
We’re going to take you through the process of creating your first theme. To get started, you’ll need two things:
You’ll also benefit from having experience with local staging environments, as you’ll be using one to create your theme. Having some understanding of CSS and PHP will also be helpful (if not necessary).
Finally, there’s one important tool you’ll want to have, which will make the process of creating a theme much easier: a theme.
What is a Theme (And Why You Should Use One)
Using a starter enables you to build on a solid framework, without having to worry about the complexities involved in coding a theme from scratch. It will also help you understand how WordPress works by showing you the basic structure of a theme and how all its parts work together.
How to Develop Your First WordPress Theme (In 5 Steps)
With the preparation out of the way, you’re finally ready to start creating your first theme. As we mentioned, we’ll be using a starter theme for this walkthrough.
However, if you want to try creating everything yourself with no template, you should feel free to do so. Bear in mind that this will require a lot more coding proficiency and understanding of web development.
Step 1: Set Up a Local Environment
The first thing you’ll need to do is to create a local development environment. This is effectively a server that you install on your computer, which you can use to develop and manage local WordPress sites. A local site is a safe way to develop a theme without impacting your live site in any way.
When the installation has completed, you can open the program, where you’ll be asked to configure your new local environment. This is a straightforward process, and you’ll have your local WordPress site ready in a few minutes. Once installed, your new site will look and work exactly like a live WordPress website.
Step 2: Download and Install Your Starter Theme
If you want, you can also click on Advanced Options to customize the base theme further. Here you can fill out more information, such as the author’s name, and give the theme a description.
There’s also the _sassify! option, which will add Syntactically Awesome StyleSheets (SASS) files to your theme. SASS is a preprocessing language for CSS, which enables you to use variables, nesting, math operators, and more.
When you’ve made your choices, you can click on Generate, which will download a .zip file containing your starter theme. This is the core around which you’ll develop your own theme, so install it on your local site. Once you’ve installed your theme, you can preview your site to see how it looks. It’s very basic right now, but that won’t be the case for long!
Step 3: Understand How WordPress Works Behind the Scenes
Before you can customize your theme, you’ll need to understand the purpose of its components and how they fit together. First, let’s discuss template files, which are the main building blocks of a WordPress theme. These files determine the layout and look of the content on your site. For example, header.php is used to create a header, while comments.php enables you to display comments.
WordPress determines which template files to use on each page by going through the template hierarchy. This is the order in which WordPress will look for the matching template files every time a page on your site is loaded. For example, if you visit the URL http://example.com/post/this-post, WordPress will look for the following templates files in this order:
- Files that match the slug, such as this-post.
- Files that match the post ID.
- A generic single post file, such as single.php.
- An archive file, such as archive.php.
- The index.php file.
Since the index.php file is required by all themes, it’s the default if no other file can be found. Underscores contains the most common template files already, and they will work right out of the box.
Another important element you need to grasp is The Loop. This is the code WordPress uses to display content, so in many ways, it’s the beating heart of your site. It appears in all template files that display post content, such as index.php or sidebar.php.
The loop is a complex subject that we recommend you read more about if you want to grasp better how WordPress displays post content.
Step 4: Configure Your Theme
It’s easy to think that themes are purely for cosmetic purposes, but they actually have a huge impact on your site’s functionality. Let’s look at how you can make a few basic customizations.
Add Functionality with ‘Hooks’
Hooks are code snippets inserted into template files, which enable you to run PHP actions on different areas of a site, insert styling, and display other information. Most hooks are implemented directly into the WordPress core, but some are useful for theme developers as well.
Let’s take a look at some of the most common hooks and what they can be used for:
- wp_head() — Added to the element in header.php, and enables styles, scripts, and other information that runs as soon as the site loads.
- wp_footer() — Added to footer.php right before the tag. This is often used to insert Google Analytics code.
- wp_meta() — This usually appears in sidebar.php, to include additional scripts (such as a tag cloud).
- comment_form() — Added to comments.php directly before the file’s closing tag to display comment data.
However, we still recommend that you visit the Hooks Database to see all available hooks and learn more about them.
Add Styles with CSS
Cascading Style Sheets (CSS) is what defines the appearance of all content on your site. In WordPress, this is accomplished using the style.css file. You’ll already have this file included in your theme, but at the moment it only contains the basic, default styling.
If you want a quick example of how CSS works, you can edit any of the styles here and save the file to see the effects. For example, you can find the following code (usually on line 485):a {color: royalblue;}
This controls the color of unvisited hyperlinks, which appear royal blue by default:
Let’s see what happens if we try to change that by replacing it with the following code:a {color: red;}
Save the file, and check out your local site now. As you might expect, all unvisited links will now appear bright red:
You might notice that the visited link at the top has not changed color. That’s because it’s actually governed by the next section in the stylesheet:a:visited {color: purple;}
This is a very basic example of how editing style.css will affect the look of your site. CSS is a massive topic that we recommend you explore further if you want to learn more about creating web designs.
Step 5: Export the Theme and Upload It to Your Site
When you’ve finished tinkering with your theme, it’s time to make sure it works properly. You can ensure this by testing the theme. To quickly make sure that your theme will perform well under most circumstances, you can use the Theme Unit Test data. This is a set of dummy data you can upload to your site, containing many different variations of styles and content. It will enable you to see how your theme copes with unpredictable data.
When you’ve thoroughly tested your theme and are convinced that it meets the required standards, all that remains now is to export it. The easiest way to do this is simply to find where the website is installed on your local machine, most likely in a folder called Websites inside your default Documents directory. Open the website’s folder and access /wp-content/themes/, where you’ll find your theme.
You can now use a compression tool, such as WinRAR, to create a .zip file based on the folder. Simply right-click on the folder and select the option that enables you to zip it, such as Compress “folder.”
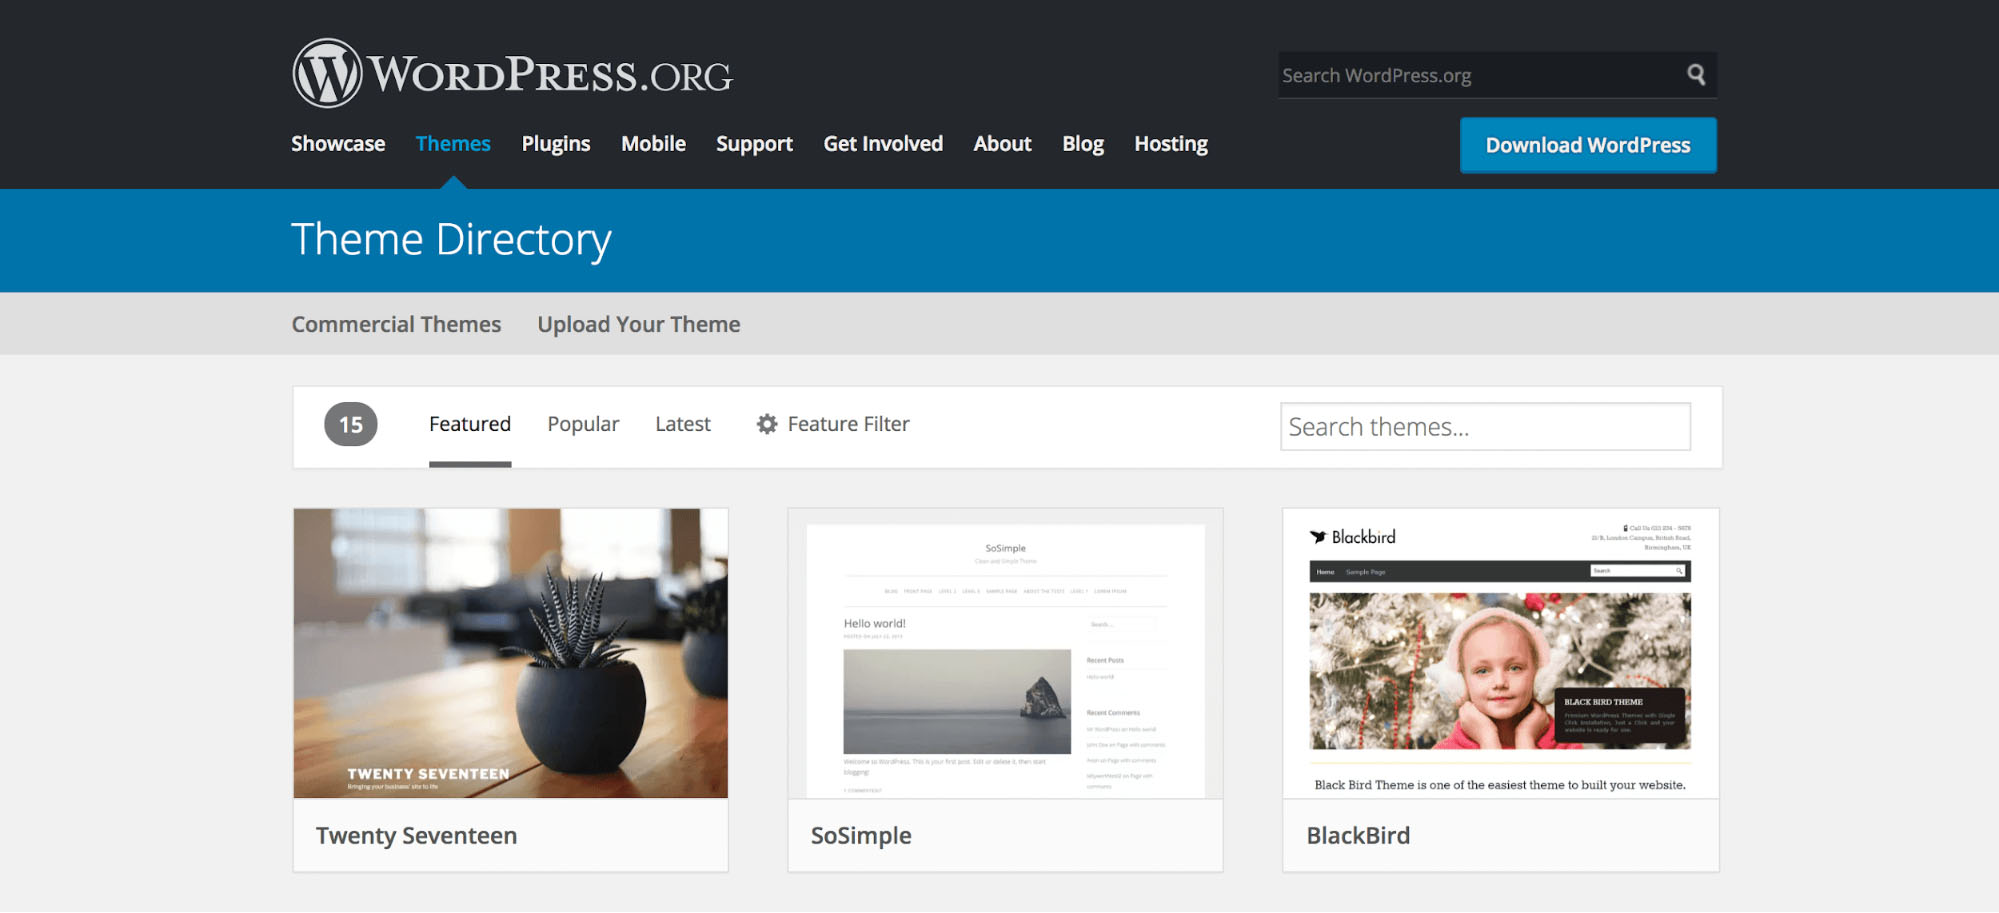
When the folder has been zipped, it’s ready to be uploaded and installed on any WordPress site, just as you installed your Underscores theme at the start. If you feel particularly happy with the result, you could even submit your theme to the WordPress Theme Directory.
Conclusion
Creating a custom WordPress theme from scratch is no small feat. If you feel you should need some help from experts please read this article from Thomas Digital before hiring a web designer. It will help you from making a mistake in the beginning.